Two Very Different Leaks
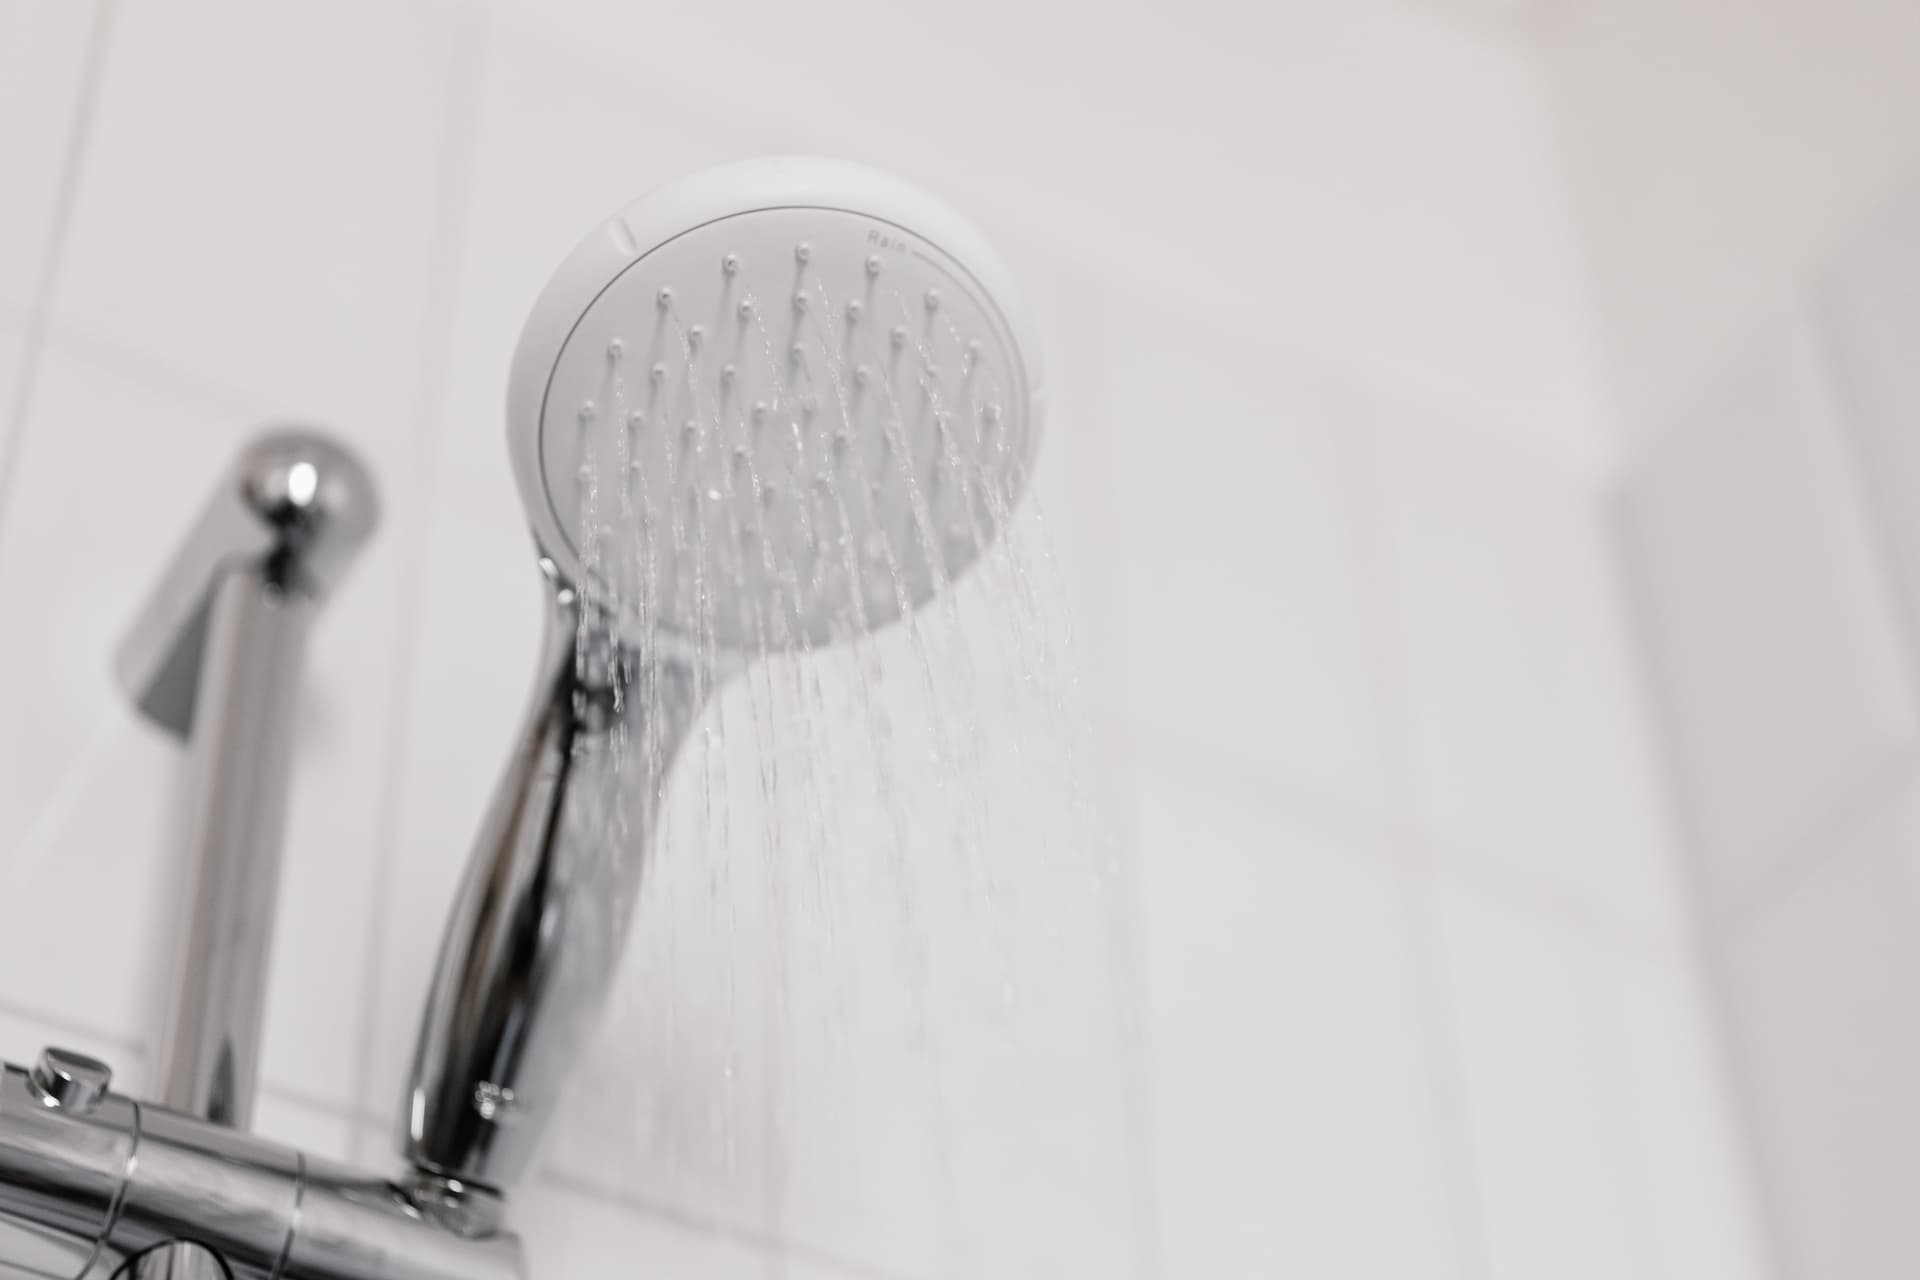
A leaking shower sounds like one problem, but it's usually one of two very different ones. A showerhead that drips when the tap is off is almost always a worn washer or faulty cartridge: often a $5 part and an hour of your time. A shower base that's pushing water into the wall or floor beneath the tiles is a waterproofing failure. That's a job for a licensed professional, and the longer it sits, the more expensive it gets.
Getting the diagnosis right matters. This guide covers both: how to stop a dripping showerhead yourself, and how to recognise a base leak before it turns into a structural repair bill.
Part 1: Leaking Shower Head
The good news with a dripping head: it's almost always a cheap, DIY-friendly fix. Start by working out which of a few common causes you're dealing with.
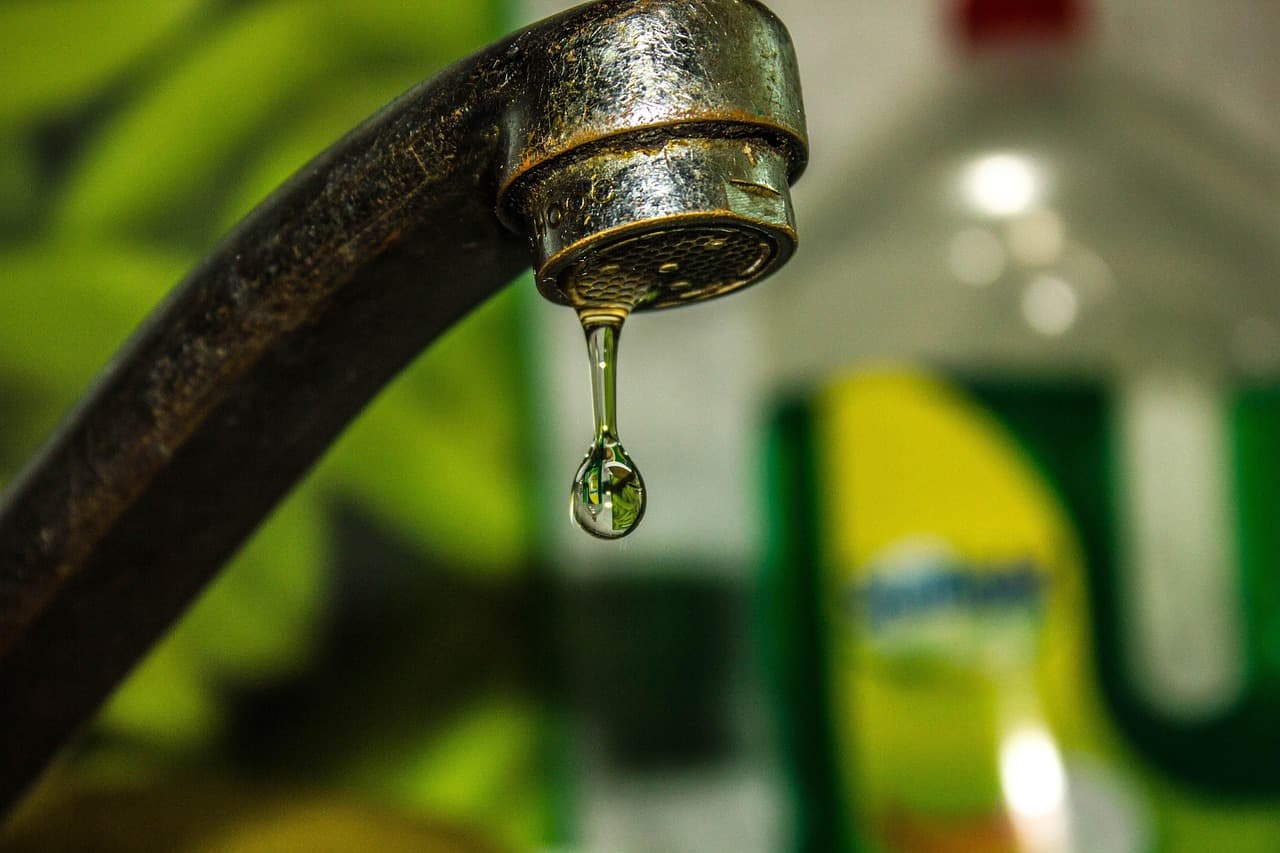
Why Is My Shower Head Dripping When the Water Is Off?
This is the most-searched shower problem in Australia, and the answer almost always comes down to one of three things.
-
Worn tap washer or O-ring — inside every tap is a rubber washer or O-ring that seals the water off when the handle is closed. Over time they harden, flatten, or crack. When they do, water seeps past the seal and drips out through the showerhead even with the tap fully off. The part costs under $5 at Bunnings, and replacing it yourself is straightforward on a traditional tap.
-
Faulty cartridge valve — most modern Australian showers use a ceramic cartridge instead of a rubber washer. The cartridge controls both flow and temperature from a single lever. When it wears out or the internal seals go, it can't fully stop the water and the showerhead keeps dripping. Cartridge replacement is more involved than a washer swap. It sometimes means accessing the plumbing inside the wall, and it's a reasonable job to leave to a plumber if you're not comfortable.
-
High water pressure — pressure above 500 kPa can push water through a worn seal that would otherwise hold fine. If the taps also run aggressively when first opened, pressure may be part of the problem. A pressure limiting valve at the meter fixes it.
Why Does My Shower Head Leak While the Water Is On?
A showerhead leaking at the connection point during use is a separate issue. Usually it's one of these:
- The showerhead has worked loose from the arm over time.
- The O-ring at the fitting is worn or missing.
- Mineral buildup inside the fitting is forcing water out through weakened seals.
- The PTFE tape on the thread has dried out and deteriorated.
All of these are surface-level fixes you can do yourself in under 30 minutes.
How to Fix a Leaking Shower Head
What you need: adjustable wrench, soft cloth, replacement washer or O-ring (take the old one to Bunnings to match the size exactly), PTFE tape, white vinegar.
- Turn off the water. Use the isolation valve behind the shower wall panel if there is one. If not, turn off the mains at the meter.
- Remove the showerhead. Wrap a soft cloth around the connection to protect the chrome, then unscrew counterclockwise with the wrench.
- Check the washer and O-ring. If it's cracked, flattened, or just old, replace it. When in doubt, replace it anyway.
- Soak in vinegar. Drop the head in white vinegar for 20–30 minutes to dissolve mineral deposits that block the spray holes or stress the seals.
- Re-tape the thread. Wrap 2–3 layers of PTFE tape clockwise around the shower arm thread before refitting.
- Refit and test. Hand-tight first, then a gentle quarter-turn with the wrench. Turn the water back on and watch for drips.
Tip
Take the old washer to Bunnings rather than guessing the size. There's no standard across tap brands, and the wrong one means doing the whole job again.
Traditional jumper valves vs ceramic cartridges. Homes built before the mid-1990s generally have traditional taps with rubber jumper valves. Turn off the mains, remove the handle and cover plate, unscrew the brass bonnet with a spanner, and swap in a new jumper valve. About $5–$10 at any hardware store.
Homes built after that typically have mixer taps with ceramic cartridges. Same entry steps, but the cartridge pulls straight out once the retaining clip is released. Cartridges run $20–$80 depending on the brand. If it sits deep in the wall or you're not sure, hand it to a plumber. This is one of the most common tap and fixture repairs we do across Sydney, and it's usually a quick job.
When the Shower Head Keeps Dripping After DIY
You've replaced the washer. Still dripping. At that point, the cartridge or valve inside the wall is the most likely culprit. The seal isn't holding regardless of what's been fixed externally. A licensed plumber will pull the cartridge, assess what it needs, and access the in-wall fitting if required. Going further without plumbing experience risks cracking the tile surround or damaging the internal fitting, which turns a small repair into a bigger one. For more on tap repairs generally, our guide on fixing a dripping tap covers the tap body in more detail.
Part 2: Leaking Shower Base or Screen
This is a different type of leak entirely. Slower, less obvious, and easy to ignore until it isn't. Left long enough, a base leak causes water damage to the timber subfloor, surrounding walls, and anything below the shower on a two-storey home.
Signs Your Shower Base Is Leaking
A base leak often hides for months before it's visible. Know what to look for:
-
Soft or springy tiles underfoot — the substrate has absorbed moisture and the adhesive is failing beneath.
- Cracked or crumbling grout, especially at floor-wall junctions and around the drain.
-
Mould that comes back days after cleaning — surface mould clears easily; mould fed by trapped moisture behind tiles does not.
-
Damp patches or water staining on adjacent walls or ceilings — particularly serious if the shower is on an upper floor or against a bedroom wall.
- A musty smell that doesn't go away no matter how much you clean.
- Hollow-sounding tiles when tapped. The adhesive below has failed.
Caution
Soft tiles or water staining on a ceiling below the shower shouldn't wait. Moisture in a timber-framed subfloor causes rot fast, and rot near structural framing attracts termites. A $1,500 waterproofing job left too long can turn into a $10,000+ structural repair.
What Causes a Shower Base to Leak?
Failed waterproof membrane. Every tiled shower sits on a membrane between the tiles and the substrate. In Australia, this must comply with AS 3740. Homes built before 2004 were often built to less rigorous standards, and membranes that were thinly applied or poorly sealed at corners and junctions have a limited lifespan. Once the membrane fails, water travels under the tiles, saturates the substrate, and starts working its way into the floor or wall cavity. No surface fix will stop it.
Cracked or deteriorated grout. Grout isn't waterproof on its own. The membrane does that job. But cracked grout gives water a direct path to the membrane below, and if it's been like that for a while, the membrane has probably been getting wet repeatedly. Regrout can slow the water entry, but it won't save a membrane that's already compromised.
Deteriorated silicone seals. The silicone along the screen base and floor-wall junctions stops water escaping sideways. Over time it dries out, shrinks, and pulls away from the surface. This is one of the most fixable causes of a leaking shower, and one of the most commonly overlooked.
What You Can Fix Yourself
Reseal the screen base and silicone joints. If the silicone has cracked or separated, clean out every bit of the old material with a silicone remover and a flat blade. Don't leave any old silicone behind. New silicone won't bond over old. Once the surface is dry, run a continuous bead of bathroom-grade silicone rated for wet areas. Smooth it with a wet finger. Leave the shower alone for 24 hours before using it.
Tip
Match the silicone colour to your grout. White silicone against grey grout looks fine for a week and looks terrible after that. Bunnings stocks colour-matched bathroom silicone in the tile aisle.
Regrout surface cracks. If the grout is cracked or missing but tiles are solid and not hollow when tapped, regrout the affected joints. Rake out the crumbled grout with a grout saw, clean the joint, pack in new grout, and seal with a penetrating grout sealer once dry. This works on a shower where the membrane is still intact. If the tiles are already soft or hollow, this is just postponing the real repair.
What Needs a Licensed Waterproofer
Soft tiles, hollow tiles, or damp walls mean the membrane has failed. Surface repairs won't fix it. The tiles need to come up, the substrate needs to dry out completely, the membrane needs to be stripped back and reinstated to AS 3740, then the area retiled.
In NSW, this work must be carried out by a licensed waterproofer. NSW Fair Trading's waterproofing licence requirements are clear: unlicensed waterproofing can void your home insurance, fail a council inspection, and leave you personally liable for consequential damage. A compliance certificate is required on completion, and an unlicensed contractor can't issue one.
At 24/7 Local Plumbers, we work alongside licensed waterproofers on shower leak repairs across Sydney. If the problem goes beyond plumbing, we coordinate the full scope for you.
How Much Does Shower Leak Repair Cost in Sydney?
Costs range from a few dollars in parts to a full strip-out, depending on where the leak is:
| Repair Type | Estimated Cost |
|---|---|
| Washer or O-ring replacement (DIY) | $5–$15 in parts |
| Cartridge replacement (licensed plumber) | $150–$300 |
| Silicone reseal (screen and joints) | $200–$400 |
| Regrout and reseal | $300–$600 |
| Waterproof membrane repair (licensed waterproofer) | $1,500–$4,000+ |
| Full strip-out and refit (membrane failure with substrate damage) | $4,000–$8,000+ |
Getting an Accurate Quote
Costs climb quickly if the timber substrate has rotted, if discontinued tiles can't be matched, or if the shower is large. Ask for a written quote that separates diagnosis, waterproofing, and tiling before you commit to anyone.
When to Call a Licensed Plumber
Call a plumber if:
- The showerhead is still dripping after you've replaced the washer or O-ring.
- You suspect the cartridge or in-wall valve needs replacing.
- The leak is coming from connections inside the wall.
- Water pressure is above 500 kPa and a pressure limiting valve is needed.
- You've spotted soft tiles, damp walls, or mould that points to a base leak.
24/7 Local Plumbers handles leaking shower repairs across Sydney seven days a week. We stock replacement cartridges and washers for most common tap brands on every van, and we charge $0 call-out fee with upfront fixed pricing. Call 1300 138 780 or book online.
For shower base leaks involving both plumbing and waterproofing, our emergency plumbing service is available 24 hours a day, 7 days a week.
Wrapping Up
A dripping showerhead is usually a $5 part and an afternoon. A leaking base is a waterproofing problem that quietly destroys timber framing, feeds mould, and compounds in cost the longer it waits. The key is catching it early and knowing which problem you're actually dealing with.
Not sure? Give 24/7 Local Plumbers a call. We'll assess it, tell you straight what it needs, and give you a fixed price before anyone picks up a tool. Call 1300 138 780 and we'll get it sorted.
Key Takeaways
- A dripping showerhead when the tap is off is almost always a worn washer, O-ring, or cartridge: usually a DIY fix.
- A showerhead leaking at the connection during use points to a loose fitting, worn O-ring, or old PTFE tape: all DIY-friendly.
- If the drip continues after a washer replacement, the cartridge inside the wall has failed and needs a licensed plumber.
- Soft tiles, crumbling grout, returning mould, and damp adjacent walls all point to a failed waterproof membrane.
- Silicone resealing and regrout work only when the membrane beneath is still intact.
- Waterproofing membrane repair in NSW must be done by a licensed waterproofer, and a compliance certificate is required on completion.