Kitchen Sink Installation
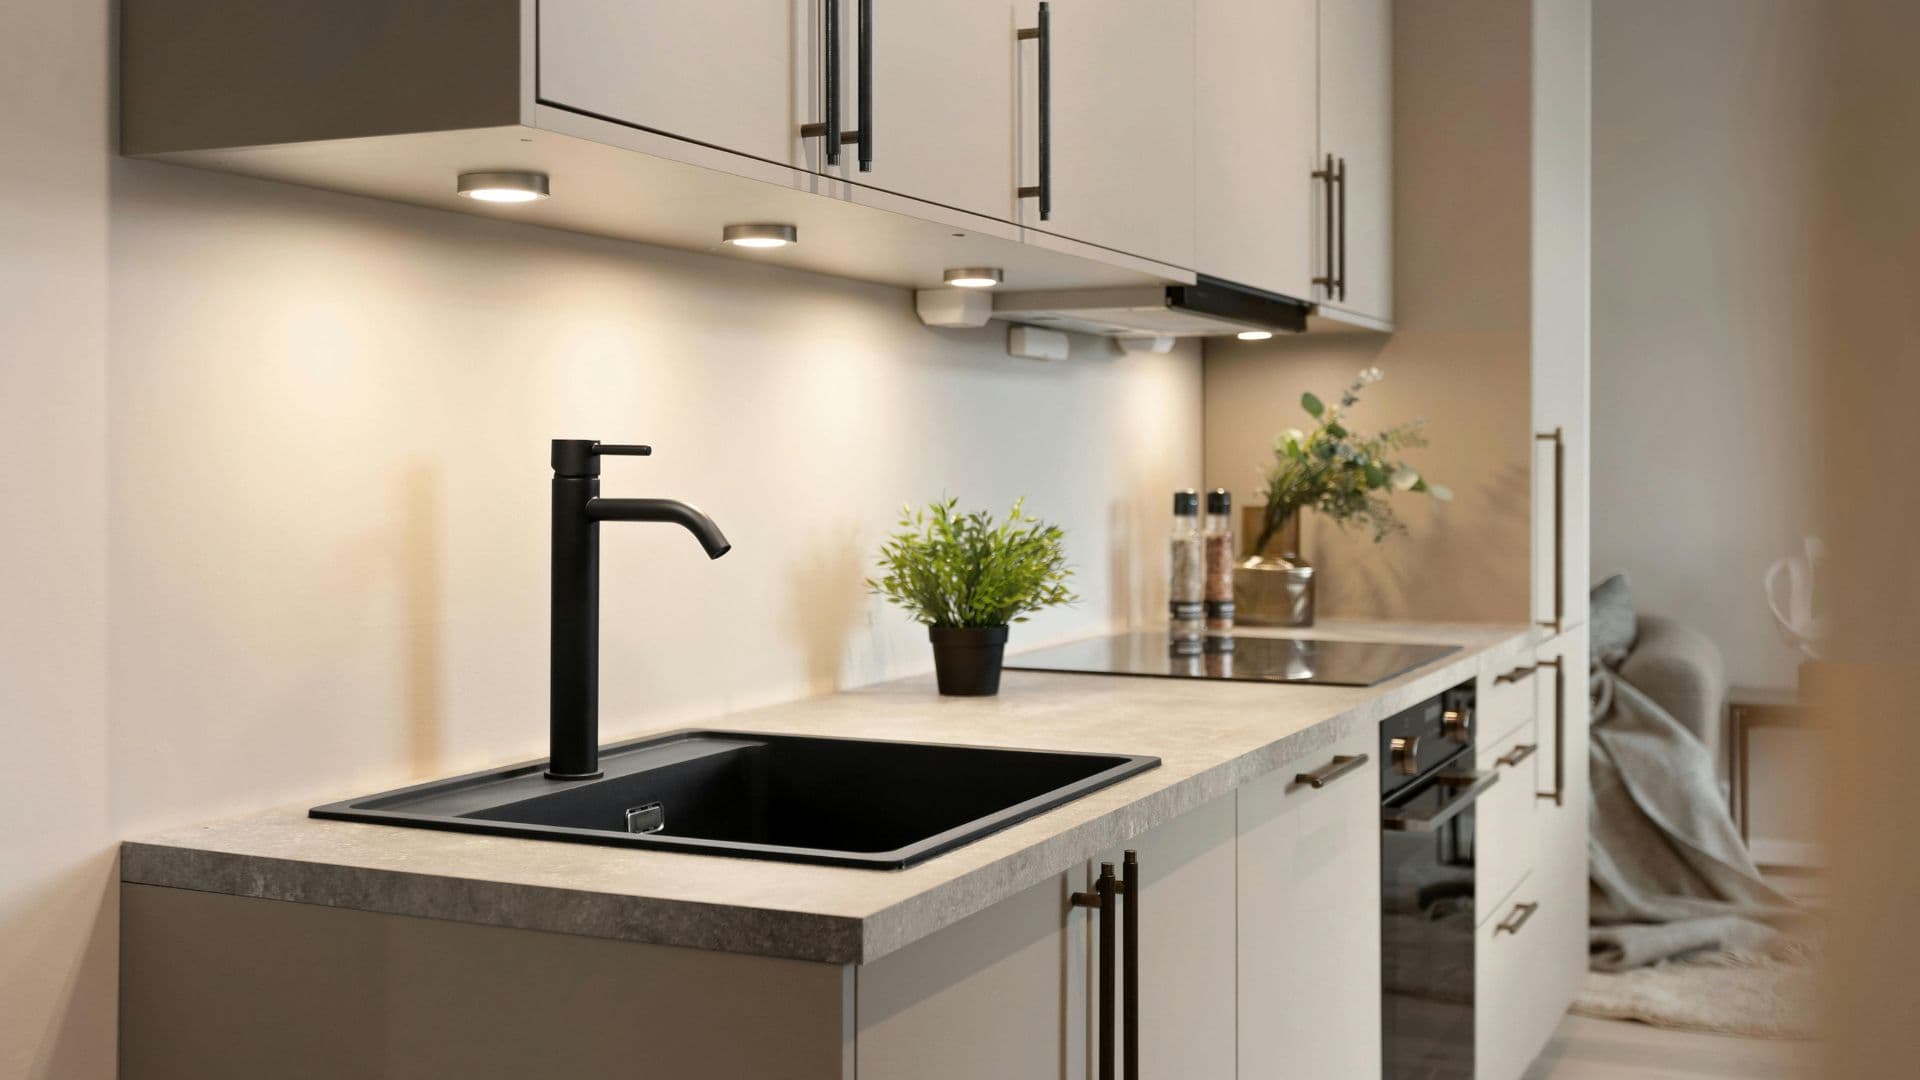
A new kitchen sink or tap is one of the more visible upgrades you can make to a kitchen, but there's more plumbing behind it than most people expect. Get the installation right and it's invisible, tucked under the bench doing its job for the next fifteen years. Get it wrong, and you're looking at a slow leak inside a cabinet you don't check often enough.
Here's how kitchen sink installation actually works, what to look for in a tap, the basics of the plumbing underneath, and where DIY ends and a licensed plumber needs to take over.
Drop-In vs Undermount
A drop-in sink sits on top of the benchtop, rim visible, held in place by clips or its own weight. It's the easier of the two to install and works with almost any benchtop material.
An undermount sink sits below the benchtop, fixed from underneath with clips and support brackets, so the benchtop edge runs straight into the sink with no visible rim. Cleaner look, easier wipe-down, but it needs a water-resistant benchtop material like stone or solid surface, and the install itself is a bigger job.
Compliance Basics
New kitchen sink installations in Australia need to meet a couple of standards that aren't optional. The waste line has to be sized correctly for the sink's discharge rating under the Plumbing Code of Australia, and any new tap fitted needs a WELS water efficiency rating with a flow rate capped at 9 litres per minute. You won't notice these day to day, but they matter for compliance certificates if you ever sell or insure the place.
| Task | DIY-Safe | Licensed Plumber Only |
|---|---|---|
| Choosing sink style and material | Yes | — |
| Cutting a benchtop opening | — | Yes (especially stone) |
| Connecting water supply lines | — | Yes |
| Sealing sink to benchtop | Often, with care | — |
| Connecting to existing waste line | — | Yes |
| New drainage or relocated plumbing | — | Yes |
Choosing a Kitchen Tap
The tap is the part you touch a dozen times a day, so it's worth more than a glance at the showroom display.
WELS Rating and Flow Rate
Every tap sold in Australia carries a WELS star rating, zero to six stars, showing how water-efficient it is. New kitchen tap installations must be at least 3-star rated and flow no more than 9 litres per minute. Higher star ratings use less water without giving up much pressure, and they show up as lower bills down the track.
Mixer vs Pillar Taps
A mixer tap blends hot and cold through a single spout, controlled by one or two handles, and it's what most modern kitchens use. Pillar taps are the older style, separate hot and cold spouts. Some people like the retro look, but they're less common in new installs since they don't blend temperature nearly as easily.
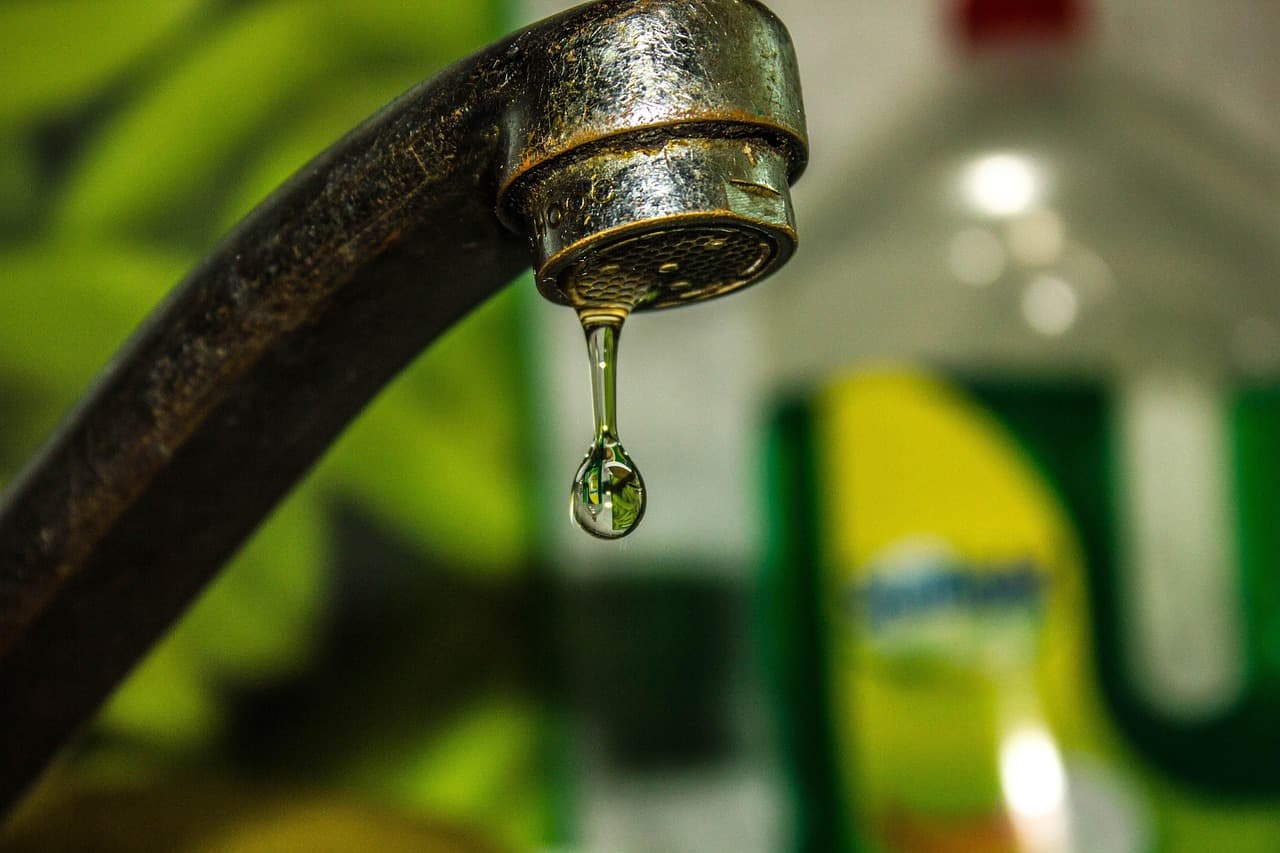
Worth knowing for later: the two styles fail differently. Pillar taps usually need a cheap washer swap, while mixers use a ceramic cartridge. Our guide on fixing a dripping tap covers both.
Matching Your Tap to the Existing Supply
Before buying a new tap, check what's already running under the sink. Tap bodies and connection sizes vary between brands, and a tap that looks perfect in the showroom won't always thread onto your existing supply lines without an adaptor, or in some cases, a full reconnection.
Under-Sink Plumbing Basics
The cabinet under your kitchen sink hides a handful of components that do a lot of quiet work:
-
P-trap — the curved section of pipe that holds a small amount of water to block sewer gas from coming back up the drain.
-
Shut-off valves — individual valves for hot and cold supply, letting you isolate the sink without turning off water to the whole house.
-
Supply lines — flexible hoses connecting the shut-off valves to the tap.
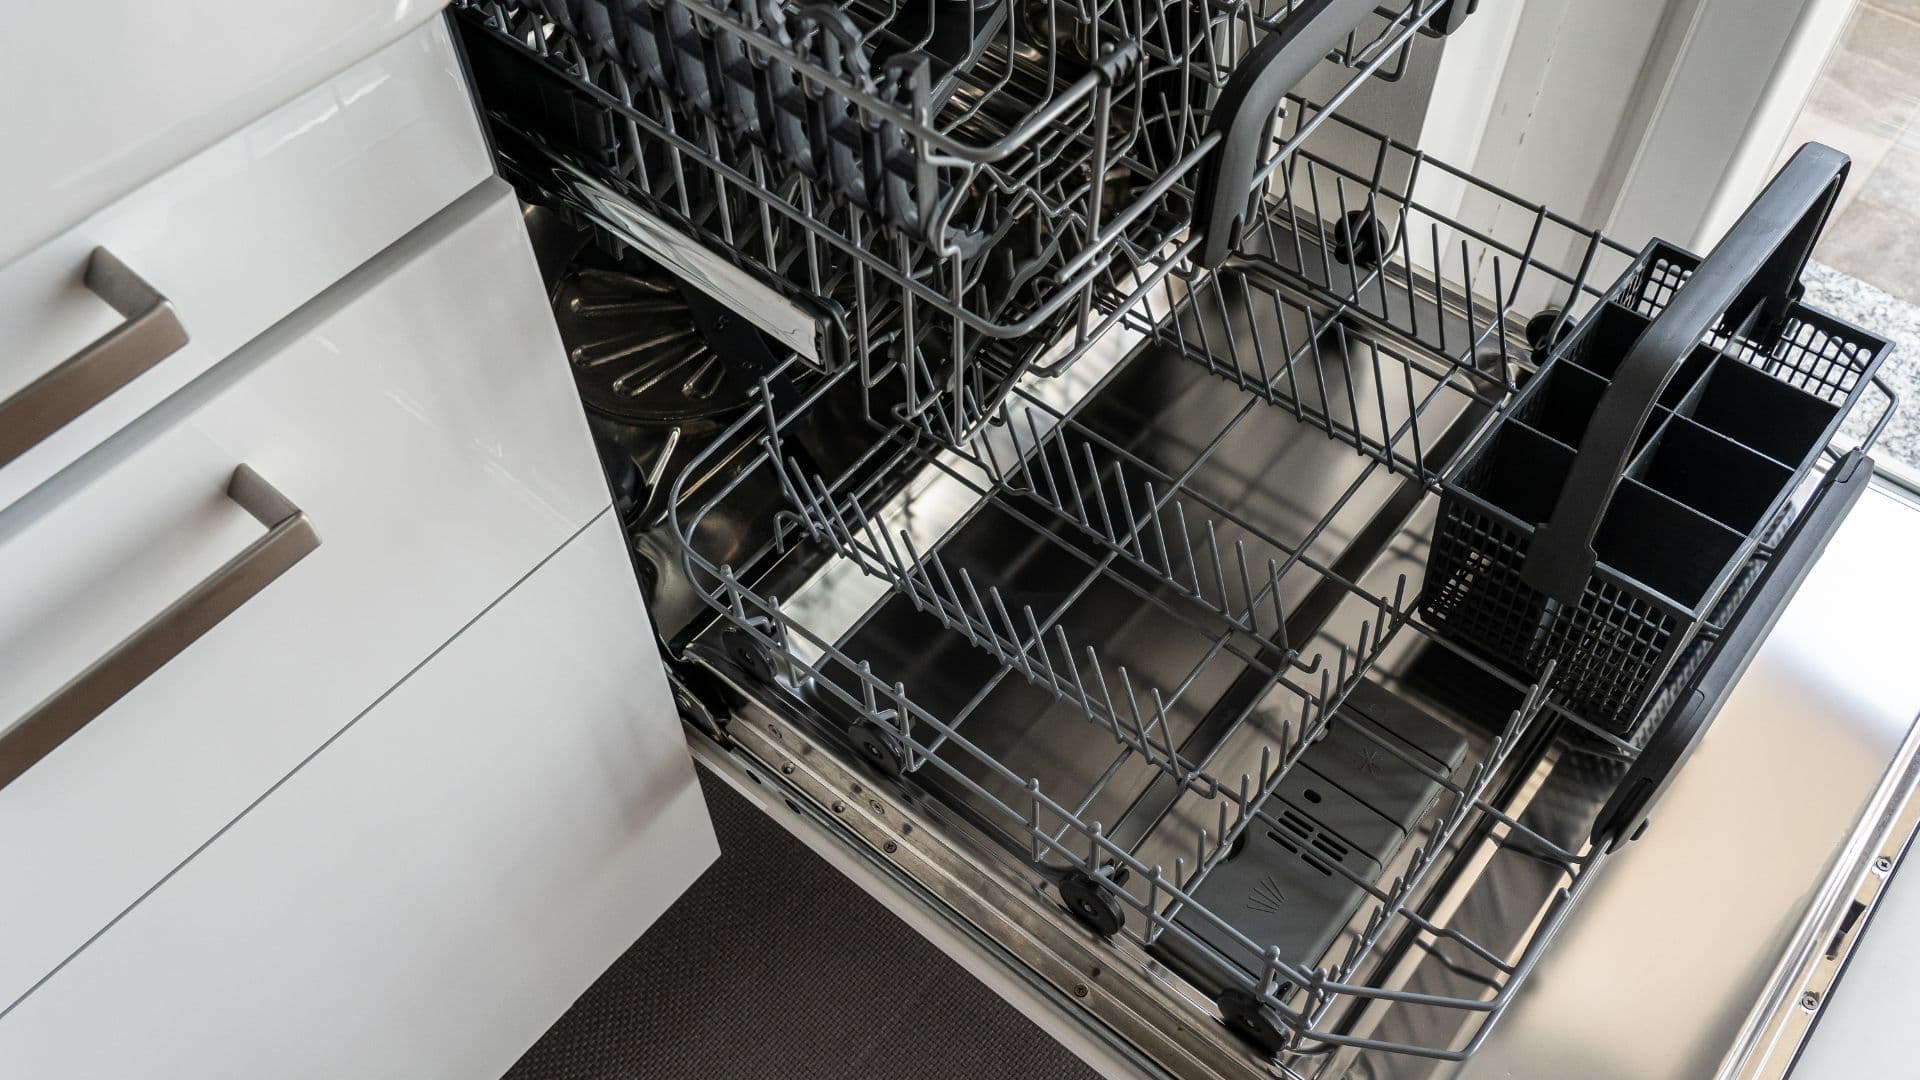
If a dishwasher is going in at the same time, this is also where its supply tees off, so it's worth reading up on what a dishwasher install involves before the cabinet gets closed up.
Common Under-Sink Issues
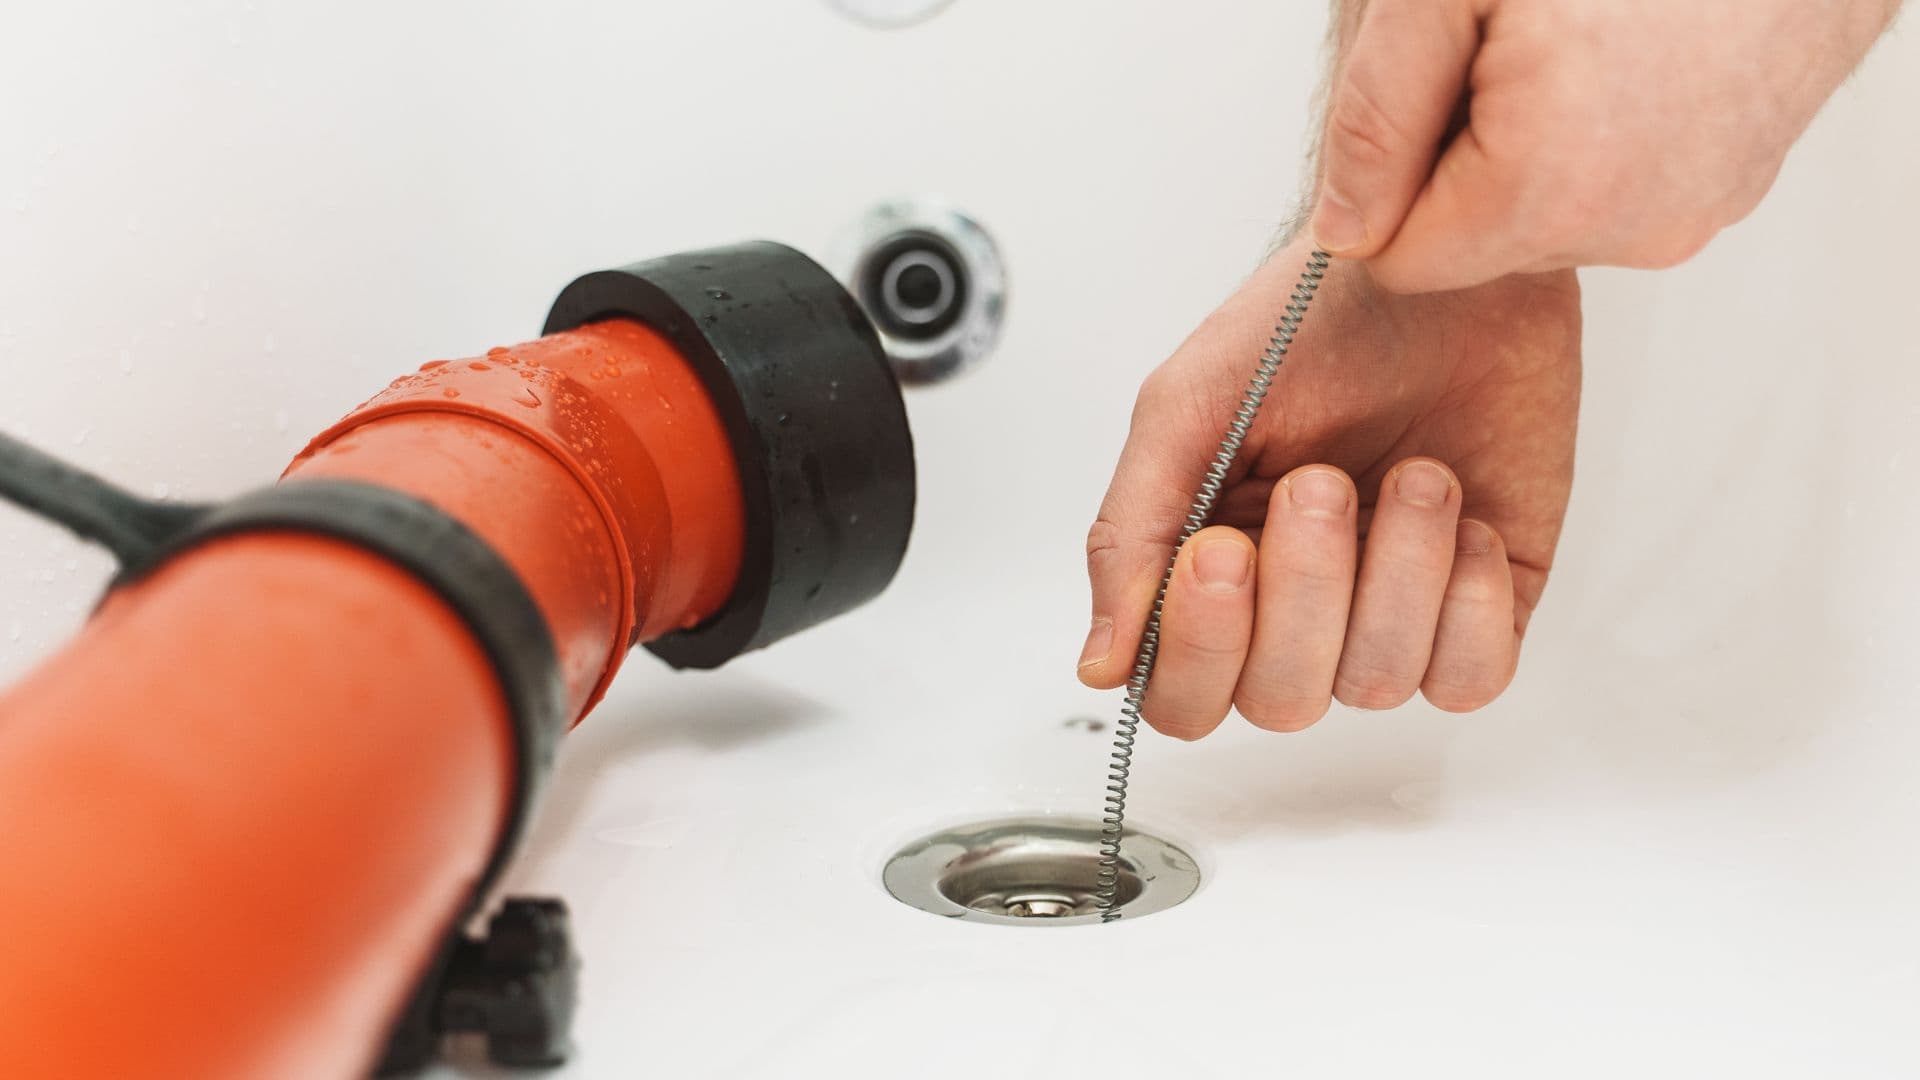
Slow drainage often points to a partial clog in the P-trap rather than anything deeper. It's usually the first thing worth checking before assuming a blocked drain further down the line. A puddle at the base of the cabinet, meanwhile, is almost always a leak at a fitting, either where the supply line meets the shut-off valve or where the P-trap connects to the wall.
What's Safe to Check Yourself
Looking for visible drips, checking a valve turns freely, wiping away moisture to see where it's coming from: all reasonable DIY checks. Tightening a loose P-trap connection by hand is usually fine too. Replacing a valve, though, or any repair that involves removing and resealing fittings, is worth handing to a professional. A poor seal here causes ongoing damage you won't notice until the cabinet base is already rotting.
24/7 Local Plumbers is available around the clock with $0 call-out fees and a lifetime labour guarantee for all your kitchen plumbing needs. Call 1300 138 780 or book online for a free quote.
Key Takeaways
- Drop-in sinks are the easier DIY-friendly option; undermount sinks need precise benchtop work and a licensed installer.
- New taps must carry a WELS rating of at least 3 stars, capped at 9 litres per minute.
- Mixer taps are the modern standard, pillar taps are the older separate-spout style.
- The P-trap, shut-off valves, and supply lines under your sink are worth a quick visual check, but repairs and reseals are a licensed plumber's job.
- Slow draining usually means a P-trap clog, while pooling water usually means a leaking fitting.